5
DifficultyHow to Make a Compass - Learn to Make a Wet Compass and a Dry Compass
Posted by Admin / in Physics Experiments
Before Global Positioning Systems (GPS) there was the compass. The compass was used by many sailors and explorers throughout history as a way to determine the direction North. Putting together a compass is very simple, yet this little device helped change history. This experiment shows kids how a basic compass works by allowing kids to make their own device.
There are both dry magnetic compasses and liquid compasses. Liquid magnetic compasses are still considered the best handheld compass today. Instructions on how to make a simple version of both a dry compass and a wet compass are shown here so they can both be built and compared.
Items Needed for Experiment (Wet compass)
- Strong magnet
- Metal sewing needle or metal paper clip
- Plastic lid or small plastic bowl
- Styrofoam cup
- Scissors
- Water
EXPERIMENT STEPS - WET COMPASS
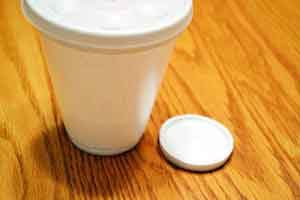
Step 1: Using the scissors, have an adult cut the bottom out of the Styrofoam cup creating a disc.
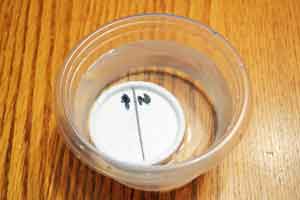
Step 2: Fill up the plastic bowl with water.
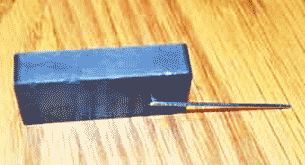
Use a Magnet to Magnetize the Needle
Step 3. Have an adult help or perform this step. Without cutting or poking yourself, rub the end of the magnet along the length of the needle repeatedly in one direction, from the bottom to the pointed end. Note the end of the magnet used to magnetize the compass needle.
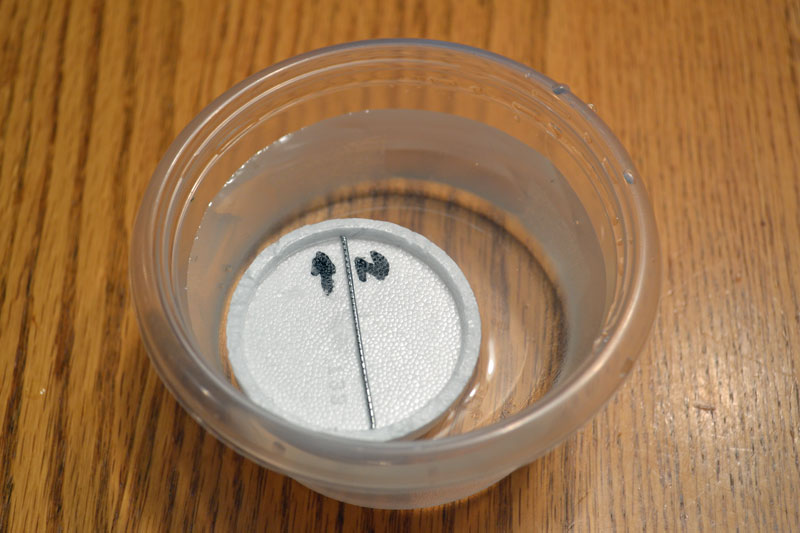
Step 4. Place the Styrofoam disc in the water in the plastic lid. Place the needle centered on the disc.
Step 5. Test the magnetism of the compass needle by placing the opposite end of the magnet used for magnetizing near the tip of the needle. If the needle tip is repelled by the opposite magnetic force, the compass is working properly. If the needle is not repelled, return to Step 3 to properly magnetize the compass.
Step 6. Allow the compass needle to stabilize to a stopped position. The direction the needle is pointing is magnetic north.
Materials Needed (Dry Compass)
- Metal sewing needle
- Clear tape
- Small piece of extra fine thread
- Small clear container- A small deli container works well.
- Punch tool
Instructions: Dry Compass
1. Adults must help with this step since the needle is very sharp. Carefully rub the end of the magnet along the length of the needle repeatedly in one direction, from the bottom to the pointed end. Note the end of the magnet used to magnetize the compass needle.
2. Cut a 6 inch piece of extra fine thread. Tie the thread around the balance point of the needle which should be near the center. Hold up the thread and let the needle hang down. Verify that the needle is balanced. If it is not balance, adjust the knot or slide the needle until it is level.
3. Have an adult carefully push a hole through the center of the bottom of the clear plastic container using the punch tool or other sharp tool.
4. Feed the loose end of thread through the inside of the punched hole. Pull enough loose string through the hole so the compass needle can freely move, not touching the inside of the plastic container or the ground underneath. Tape the loose thread in place.
5. Hold up the experimental dry compass with the plastic container, opening side down. Test the magnetism of the compass needle by placing the opposite end of the magnet used for magnetizing near the sharp end of the needle. If the needle tip is repelled by the opposite magnetic force, the compass is working properly. If the needle is not repelled, repeat the magnetizing procedure listed in Step 1. The attached thread can remain during magnetizing, but the balance would again be checked.
6. Now that the dry compass is magnetized, freely moving and balanced, place it on a level surface away from magnet objects like speakers and motors. The direction that the needle points is magnetic north.
Science Learned: Magnetic North and compass comparison
The goal of building both of these compasses is to make an instrument to find the Earth's magnetic North. Knowing a relatively constant direction is very useful for navigation. Although it has been known for over 100 years that the exact position of the North magnetic pole moves over time, the impact to simple compass readings is insignificant. What is interesting is that a compass really does not point directly to the position of the magnetic north pole. The compass needle actually reacts to the local geomagnetic field and lines up according to this field. Geomagnetic fields vary across the Earth's surface. Some areas the geomagnetic north lines up with true north. In the United States, there is a north-south line where the geomagnetic north lines up with true north. The geomagnetic line is east of the Mississippi River, extending from Lake Superior to the Gulf of Mexico. Locations east of the geomagnetic line have a north line that points slightly to the west. Locations west of the geomagnetic line have a north line that points slightly to the east.
If you made both types of compasses you probably found out what scientists and sailors determined a long time ago. The liquid compass is more accurate than the dry compass. The design of the dry compass in this experiment is limited and could be improved. The string limits the amount of rotation, sometimes resulting in incorrect results. A pivot could be developed for the needle, improving the design, however, the friction will still be greater than the liquid compass.
Please select the social network you want to share this page with:
We like you too :)
Thanks for taking time to give us feedback!

Douglas Rogers - Douglas is a professional engineer and supports math and science education for kids.