6
DifficultySimple Battery Experiment - How to build a simple galvanic battery cell
Posted by Admin / in Energy & Electricity Experiments
An experiment to teach kids about the chemistry of batteries
Materials Needed
- 3 pre-1982 pennies
- 3 nickels
- Coffee filter
- Copper wire
- Scissors
- Salt
- Water
- Electrical tape
- Multimeter (voltmeter)
- Breadboard (optional)
- Alligator clips (optional)
EXPERIMENT STEPS
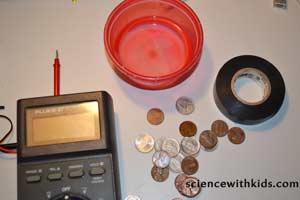
Step 1. Using a penny as a template, cut 3 pieces of coffee filter. Make each piece about the size of a penny.
Step 2. Mix two tablespoons of salt with a half of a cup of water. Mix the salt into the water making a saltwater solution with no left over salt.
Step 3. Drop all of the coffee filter pieces into the saltwater solution and allow them to soak.
Step 4. Cut two small pieces of electrical tape about the size of a penny.
Step 5. Strip the ends of two small pieces of copper wire to expose the bare wire.
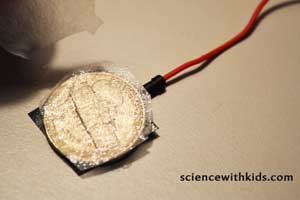
Step 6. Tape the end of one wire to the top of a nickel, using a small piece of electrical tape. Tape the end of the other wire to the top of a penny, using a small piece of electrical tape.
Step 7:Lay the nickel with the attached wire down on the table with the wire side down. Place a piece of saltwater-saturated coffee filter on the nickel. Place the penny on top with the attached wire.
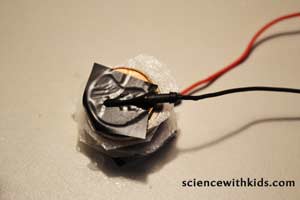
Step 8: Attach the positive (+) lead of the multimeter to the wire attached to the nickel. Attach the negative (-) lead of the multimeter to the wire attached to the penny. Set the multimeter dial to test for DC voltage. Using aligator clips to connect the wires together makes things easier. Some multimeters have aligator connectors on the testing wires. Read the voltage. How much DC voltage did the single layer galvanic cell produce?
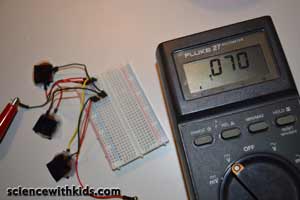
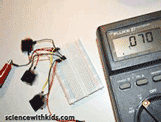
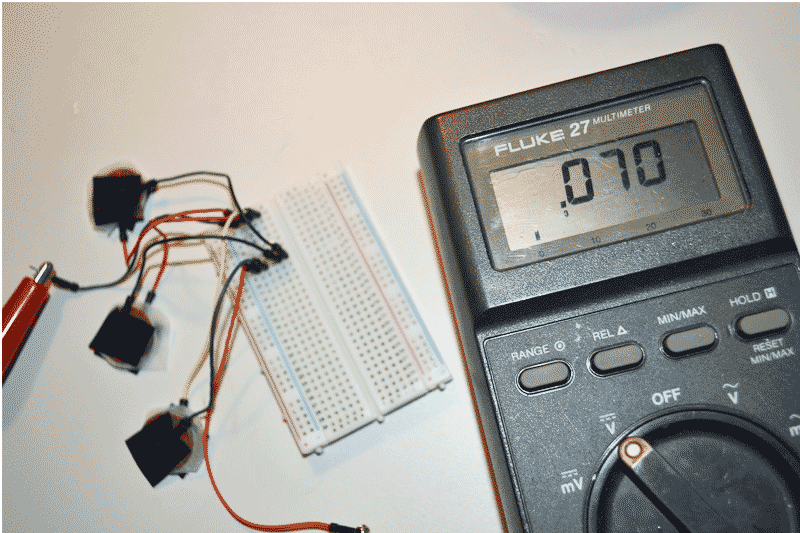
Step 9: Add more voltage to the output by adding more galvanic cells. To make things easy a breadborad was used in the experiment to connect all the wiring. The breadboard is optional, alternatively twist the wires together and wrap the connections with electrical tape. Three single coin cells combined for less than .10 volts in our experiment. How many coin combinations are needed to power a LED?
Science Learned
The simple battery experiment uses the principle of galvanic action. A galvanic cell is created by using two different metals separated by an electrolytic medium. The electrolytic medium is the saltwater saturated into the pieces of coffee filter.
The experiment only produced a nomimal amount of voltage when a single cell was used. There are ways to increase this voltage. One way is by selecting different matals for the experiment. We used copper (penny) and nickel (nickel). Metal elements have different oxidation potentials. On the period chart of elements, lithium (Li) has the highest oxidation potential and gold has the lowest. The greater the difference in each metal's oxidation potential, the more voltage that is released from a galvanic cell. The metal with the higher oxidation potential in a galvanic cell acts as the anode and will corrode. The lower oxidation potential metal is unchanged by the reaction.
In our experiment, nickel has the higher oxidation potential and will corrode. Nickel is a decent metal to use because it has a relatively high oxidation potential and is very cheap. Increasing copper with a different metal with a lower oxidation potential would result in more voltage. Unfortunately, the best materials such as silver, titanium, and gold are very expensive.
The second way of producing more electricity with this type of battery is having more surface area. Since we are using coins in the experiment the only way to get more surface area is by using multiple coins. We used additional nickel and copper (penny) coin combinations in parallel to increase the voltage output. More coins or larger pieces of metal will result in higher voltage outputs from the galvanic battery.

