5
DifficultyElectronics Experiment - How to Make a Capacitor
Posted by Admin / in Energy & Electricity Experiments
A capacitor is used to store electrons (electricity) for use in a circuit. Capacitors are made up of two conductive materials separated by a dielectric. The dielectric material varies. Paper, plastic, oil, ceramic, resin or epoxy and air are all materials used as a dielectric in a capacitor.
In this experiment you will learn how to make a simple capacitor and to test the capacitor in a circuit. The results are then compared to test results of a commercially produced capacitor.
Materials Needed
- Aluminum Foil
- Wax Paper or freezer paper
- scissors
- 2 - AA batteries
- thick rubber band
- 2 - office fasteners
- 2 - paper clips
- tape
- 2 - Wires with aligator clips
- Capacitor
- Multimeter
CAPACITOR EXPERIMENT STEPS
Step 1: For this experiment, aluminum foil is used for the capacitor conductive plates. Wax paper is used for the dielectric. Cut out a strip of wax paper about 3 inches wide. Tear off a piece of aluminum foil about 2 inches wide.
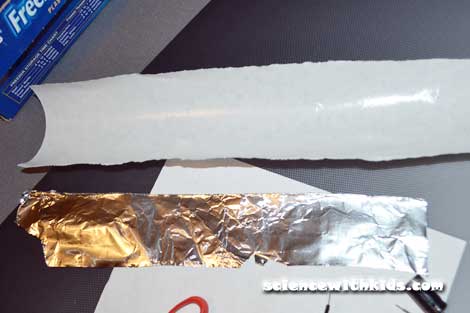
Make a capacitor using very inexpensive materials.
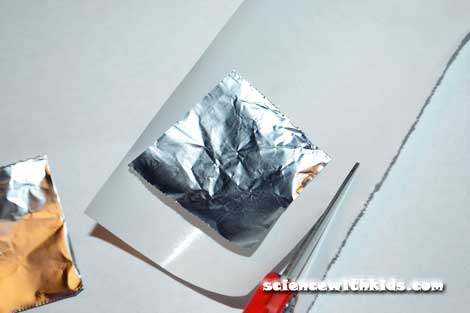
Step 2: Cut two squares from the aluminum foil strip. Trim the wax paper so it is about 1/4 to 1/2 inch wider than the aluminum foil on the top and bottom. Cut the strip of wax paper so it is a little more than 4 times the width of one of the aluminum foil squares.
Trim the wax paper so it is taller than the aluminum foil.
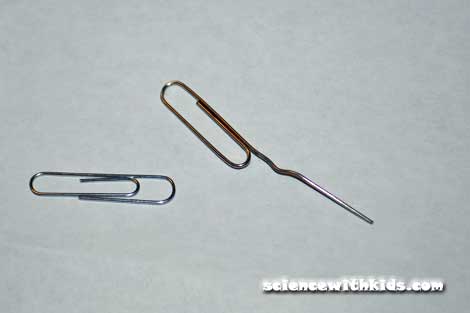
Step 3: Bend one end of each of the two paper clips so they are straight.
Step 4: Place one of the aluminum foil squares near the end of the wax paper. Use a little piece of tape on top to secure it in place. Tape the curved end of one of the paperclips to the middle of the aluminum foil square and position the straight piece so it extends beyond the side of the wax paper.
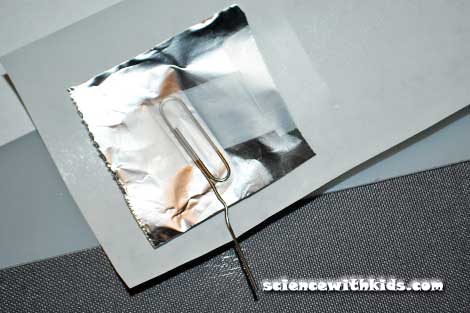
Make sure the straight piece of paperclip stick out away from the edge of the wax paper.
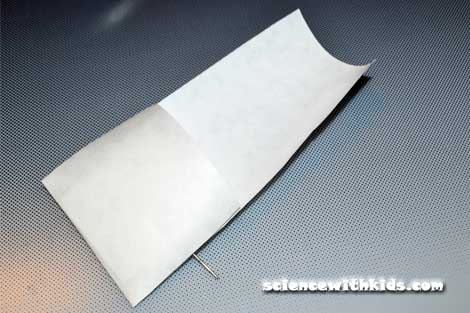
Step 5: Fold the wax paper so the aluminum foil square is covered on each side with the dielectric (wax paper).
Step 6: Place the second aluminum foil square directly over the same location of the other foil square. Use a little piece of tape on top to secure it in place. Tape the curved end of the remaining paperclip to the middle of the aluminum foil square and position the straight piece so it extends beyond the side of the wax paper in the opposite direction of the first paperclip.
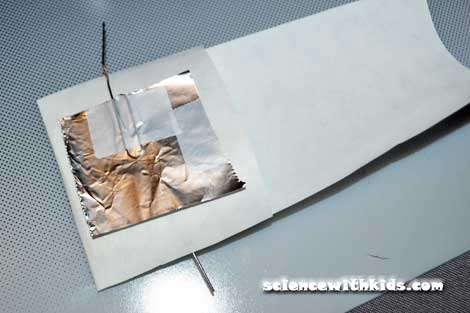
Make sure the straight end of the paperclip extends beyond the edge of the wax paper in the opposite direction from Step 4.
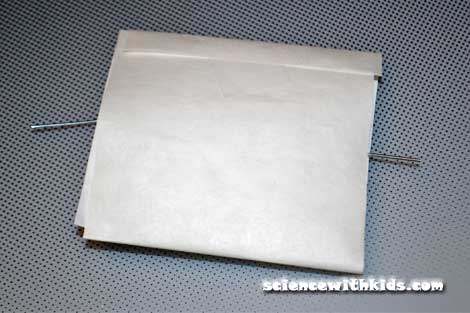
Step 7: Fold the remaining length of wax paper over the top of the aluminum foil square so it is not exposed. If you want to roll it up so it looks more like a commercial capacitor, you can. It is optional.
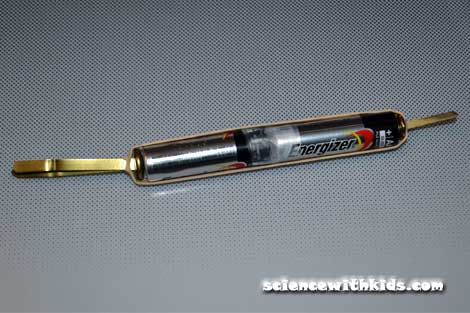
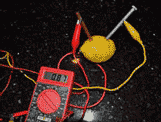
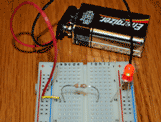
Step 8: Make a 3 volt power supply by pushing two office fasteners through opposite ends of a thick rubber band. Stretch the rubber band around both batteries placed end-to-end, as shown in the photo below. Use a little tape between the batteries to help hold them together.
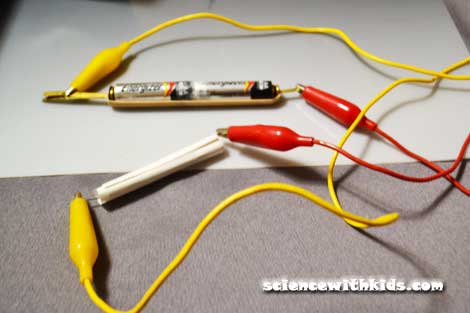
Step 9: Attach a alligator clip to one end of the battery supply. Attach the other end to one of the paper clips sticking out from the capacitor. Repeat with another alligator clip on the other end of the battery holder and the other paper clip.
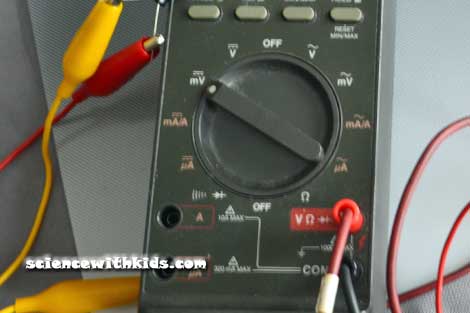
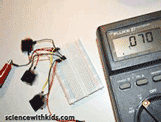
Step 10: Set the multimeter to read DC voltage. Set the dial to micro volts. If the multimeter is auto-ranging, this step is not needed. Make sure the multimeter's probes are properly inserted in the negative (com) port and positive (reading/V) port to take DV voltage readings.
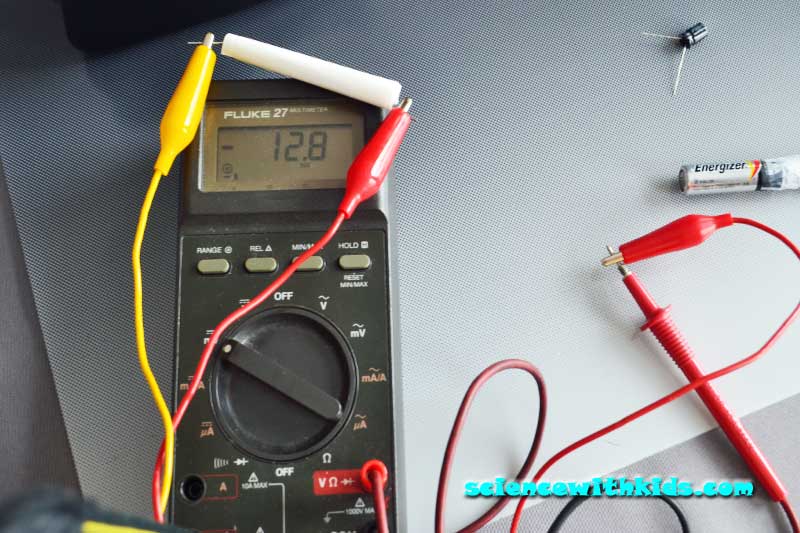
Step 11: Remove the alligator clips from the ends of the battery holder. Connect the two alligator clips that were just removed to each end of the multimeter probe. A good connection is needed.
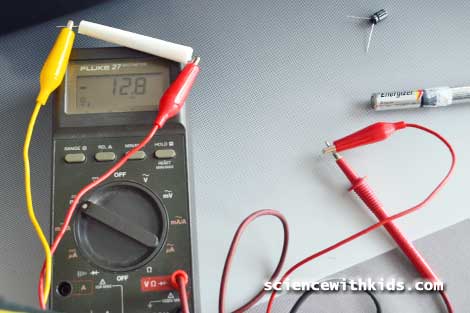
Testing the homemade capacitor to see if it can store electricity
Step 12: Repeat Steps 9-11 using a standard capacitor.
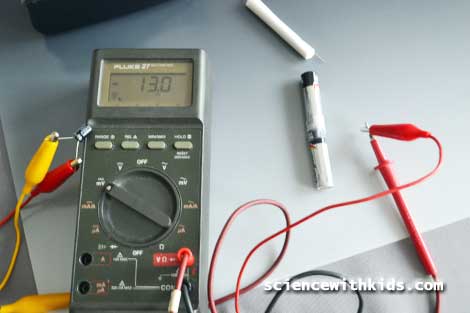
A 1000 microfarad capacitor had about the same voltage reading as our home-made capacitor.
SCIENCE LEARNED
In the experiment, our capacitor is similar to an aluminum electrolytic capacitor, except instead of using borax paste for the dielectric, we used a sheet of wax paper. Our capacitor uses the two aluminum foil squares to store positive and negative charges. The charge on the capacitor is proportional to the voltage across the capacitor. This is how the value of the capacitor is determined. The unit for capacitors is farads, named after Michael Faraday.
There are several variables that effect a capacitor's performance. The size, including the thickness, of the conductive plates is important. The material the conductive plates are made from is important. The dielectric material (in our experiment it is wax paper) is also an important factor which determines the capacitance. How did your experiment perform. If you were having trouble reading voltage values, make sure that all the metal parts are connected well. This includes the wires touching the aluminum foil squares, the multimeter and the battery connections. The voltage should read highest at first, then drop to zero. Keep in mind, a commercial-quality capacitor is much more stable and consistent, than a home-made capacitor.
Resources: Facts about Capacitors
Please select the social network you want to share this page with:
We like you too :)
Thanks for taking time to give us feedback!

posted by Admin
-
5
DifficultyLED Solar Circuit Experiment
in Energy and Electricity Experiments
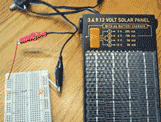
Learn how to make an electrical circuit to power an LED using solar power.
-
7
DifficultyLemon and Potato Battery Experiment
in Energy & Electricity Experiments
Use either lemons or potatoes to generate electricity. This experiment is a great to teach kids about energy storage.
-
6
DifficultyHow to Make a Simple Battery
in Energy and Electricity Experiments
Make a simple battery using coins and other common items.
-
4
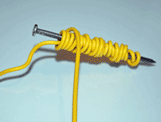
DifficultyHow to Make an Electromagnet
in Energy and Electricity Experiments
Test the relationship between electricity and magnetism by making an electromagnet.
-
3
DifficultyPower a Light with Static Electricity
in Energy and Electricity Experiments
Use static electricity to power a light bulb!
-
2
DifficultyBeginner Electronics Experiment For Kids
in Energy and Electricity Experiments
This experiment is a good starting point for kids to begin learning about electronics.
-
5
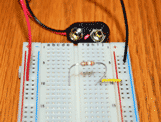
DifficultyEasy LED Circuit Project
in Energy and Electricity Experiments
This experiment show you how to build a circuit that will light up an LED.