4
DifficultyAir-Powered Car Experiment - Teach Kids about Storing Energy as Air Pressure
Posted by Admin / in Cool Experiments
This is a really cool science experiment that gives kids a hands-on demonstration of the power of physics. In this experiment, kids use simple inexpensive materials to create an air-powered car. Kids must use their creativity to make the car as fast as possible by using only air to make the car go.
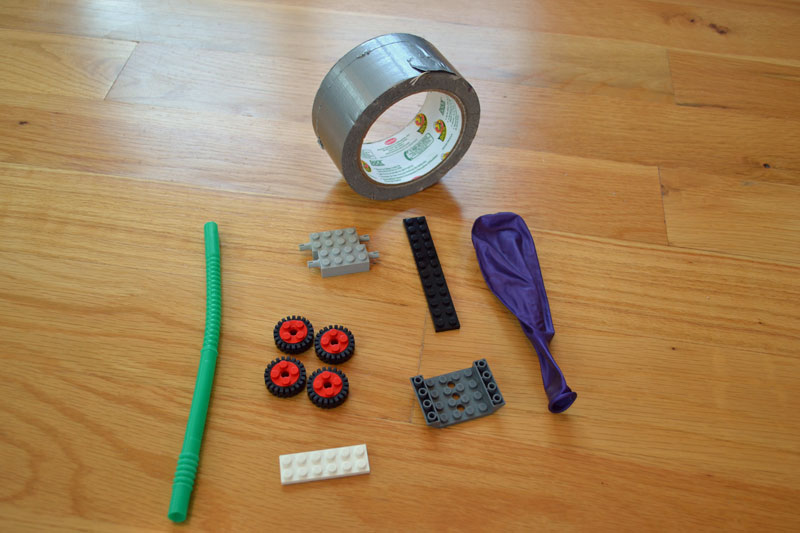
Items Needed for Experiment
- Styrofoam flat pieces or Lego building blocks
- wheels/axles
- balloons
- straws or lightweight tubing
- duct tape
- cutting tool
Optional
- car decoration (paint, markers, etc.)
EXPERIMENT STEPS
Step 1: Have the kids measure the width of axles of the car. This measurement determines how wide to make the air-powered car body. Lego has wheels and axles available that work well for this experiment.
Step 2: From the measurement in step 1, have the kids first trace the shape of the car onto a flat piece of Styrofoam. Make the width of the car slightly less than the axles so the wheels extend slightly from the body and do not rub the side of the car. If you are using building blocks you can skip this step.
Step 3: Cut out the car body. Adults should assist kids with this step or have the body sections pre-cut to save time. If you want to allow the kids time, have them decorate their cars with paint, markers, paper, or stickers. Using building blocks will speed up this step.
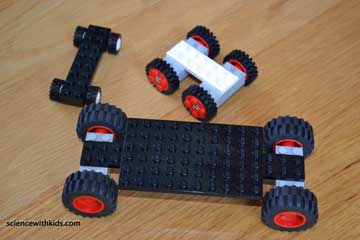
Step 4: Attach the axles and wheels to the car body using strong tape. Make sure the car wheels are aligned and spin well. How well the wheels spin will determine how much energy from the balloon is transferred to speed of the air car. Lego has some great car wheels with plastic axles that snap together. Also, water bottle caps, plastic push up sticks, and other things you might throw out make nice light weight wheels. Use your imagination!
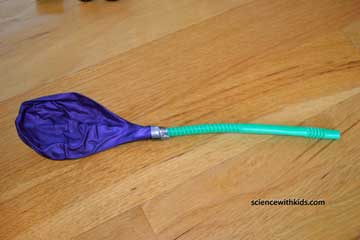
Step 5: Supply a balloon size and straw (or tubing) size that fit well together. The balloon opening should fit tightly around the straw without crushing the straw. Attach the balloon to the straw or tubing using duct tape.

Step 6: Attach the balloon and straw to the wheels and car base. Blow up the balloon. Pinch off the air temporarily. Line up the car in the direction of the race track and release the air. If there are multiple children who are performing the car experiment, they can all race their cars to test the design. Let the kids make adjustments on their cars and allow them time to race again.
SCIENCE LEARNED: Using Air to Store Energy
In this experiment kids get to experience Newton's second law of motion. In this case, energy in the form of compressed air is stored in the balloon. When the air is allowed to release the car experiences an unbalance force and begins to move.
When air is released, it acts like a spring. The compressed air inside the balloon is at a higher pressure than the air outside the balloon. When the air is allowed to escape, it rapidly flows out of the balloon, resulting in a force. Since the balloon is secured to the car, the resultant force powers the car forward.
Since the balloon can only store a certain amount of energy, there are two factors that kids can control to increase the speed of the air car and the distance the car travels. The two factors are the weight of the car and the amount of friction experienced by the moving parts of the car. Parts like the wheel/axle connection and the actual wheel connection with the ground have a frictional loss of energy. The more narrow the wheels, the less frictional loss with the ground. The less contact between the axle and the wheel shaft, also results in less frictional loss.
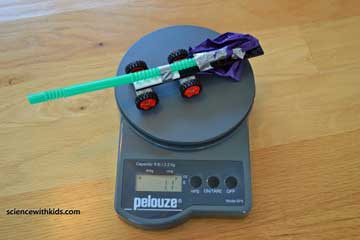
The weight of the car is a large factor in the performance of the air-powered car. Lego blocks are very easy to build, but are obviously fairly heavy. In the example, the weight of the car is 1.1 ounces. Building paper and Styrofoam cars will result in less car weight, however, more time is required to build a car with a good wheel and axle combination.
Please select the social network you want to share this page with:
We like you too :)
Thanks for taking time to give us feedback!

Douglas Rogers - Douglas is a professional engineer and supports math and science education for kids.
-
2
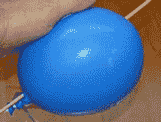
DifficultyPush a Stick Through a Balloon
How to push a wood stick through a balloon without popping the balloon, and teach kids about science at the same time.
-
3
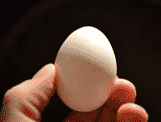
DifficultyEgg in Vinegar Experiment
Experiment with the chemical reaction between vinegar and an eggshell.
-
7
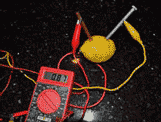
DifficultLemon Battery Experiment
in Energy & Electricity Experiments
Use either lemons or potatoes to generate electricity. This experiment is a great to teach kids about energy storage.