2
DifficultyBeginner Electronics Experiments for Kids - Get kids started with electonic circuits with these beginner electrical experiments.
Posted by Admin / in Energy & Electricity Experiments
Understanding how electronics work is a good skill for kids to have. Electronics are all around our everyday lives from household electrical wiring to circuit boards in computers and cell phones. Understanding electronics can not only help us troubleshoot electronic repairs, but can also lead to new ideas or careers.
The easiest way for kids to get started with electronics is to put away the soldering iron and find a small breadboard. Soldering can be dangerous for kids to try, especially if left unsupervised. This is an important skill that can be learned later once a basic understanding of electronics is developed. Breadboards are used by most skill electrical engineers and electronics students. Electronic breadboards provide a quick and inexpensive way to create electrical circuits.
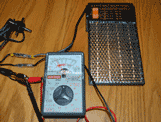
A digital multimeter (DMM) is an important tool to have when working on circuits. Measurements like voltage, current, and resistance can be made using a DMM for both direct current (DC) and alternating current (AC). An inexpensive digital multimeter can be found online or at discount stores such as Harbor Freight Tools.
Caution! Working with electricity can be dangerous. These experiments use DC electricity from a small source like AA or AAA batteries. Never use AC electricity or high voltage DC electricity from large batteries like a car battery. For any electronic project, care should be taken and an adult must supervise children.
Materials Needed
- Breadboard
- Wire or breadboard jumper wire
- AA batteries (2)
- rubber band
- 2 paper fasteners
- black electrical tape
- Digital multimeter DMM or voltmeter
BEGINNER EXPERIMENT 1 STEPS - Measuring DC Voltage in a Circuit

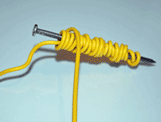
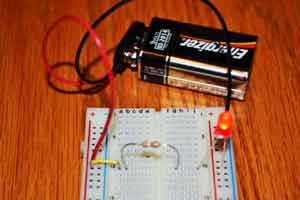
Step 1: Push a paper fastener through each side of a rubber band. Try to be careful so each paper fastener is pushed through on exact opposite sides.
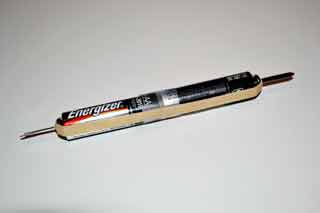
Step 2: Place two AA batteries end to end. Connect the positive and negative end of the top and bottom battery to one of the paper fasteners. Place a piece of tape around the middle of the battery holder, between the two batteries. If fresh batteries are used, the supply of voltage should be at least 3.0 volts, direct current (DC).
Step 3: Strip the insulation off the end of a small piece of electrical wire.
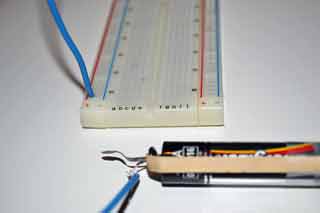
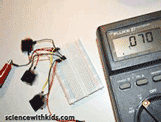
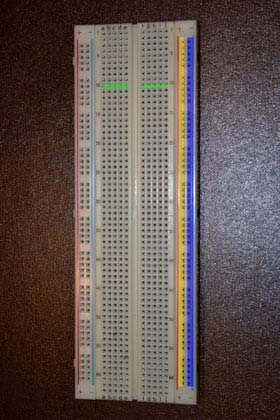
Step 4: Attach one end of the wire to the paper fastener on the positive (+) side. Push the other end of the wire to a positive (+) column on the breadboard. The sides of a breadboard contain a positive (+) and negative (-) rail which runs continuously as a column down the full height of the breadboard. In the photo, the red lines on each side of the breadboard are the positive power rails.
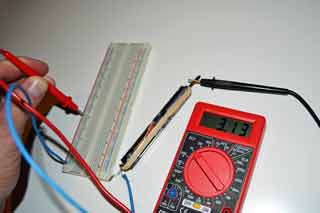
Step 5: Now measure the DC voltage two AA batteries are providing to the breadboard. Each new battery should provide at least 1.5 volts. In reality, most new alkaline batteries provide about 1.55 to 1.60 volts. Set the multimeter dial to read DC voltage. Place the multimeter's negative (black) probe on the negative (-) end of the paper fastener attached to the battery holder. Place the positive (red) probe into one of the openings along the positive power rail on the breadboard. Turn on the multimeter. During our test two AA batteries provided our breadboard with 3.13 volts DC.
Next beginner electronics experiment - How to Test a Resistor in a Circuit
Please select the social network you want to share this page with:
We like you too :)
Thanks for taking time to give us feedback!

posted by Admin